Building Your Own Outdoor Fire Pit
Get Inspired
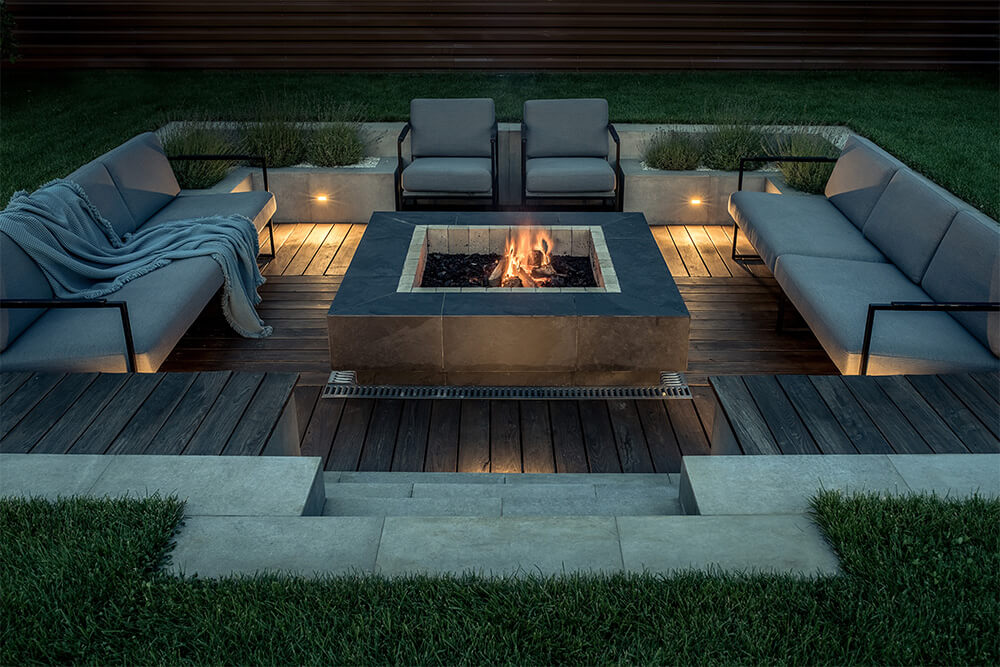
Who doesn’t love to sit around an open fire and watch the flickering flames? These days, indoor fireplaces are rare but an outdoor fire pit in the backyard gives you the opportunity to enjoy the experience once more.
It also serves a practical purpose, extending outdoor living into spring, autumn and even winter months.
Laying a base and choosing a container
At its simplest, all you need is a level fire-proof surface and an inflammable container for the fire.
For the base, you could lay some concrete flagstones or construct a circular base with old bricks for an attractive rustic look.
Make sure your fire pit is well away from the house, fences and any overhanging trees.
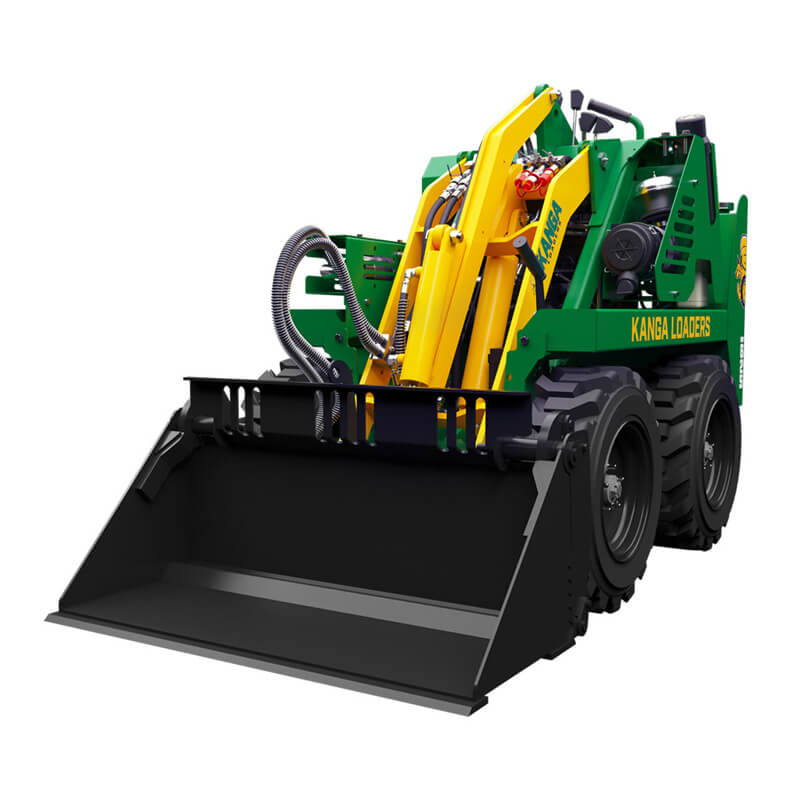
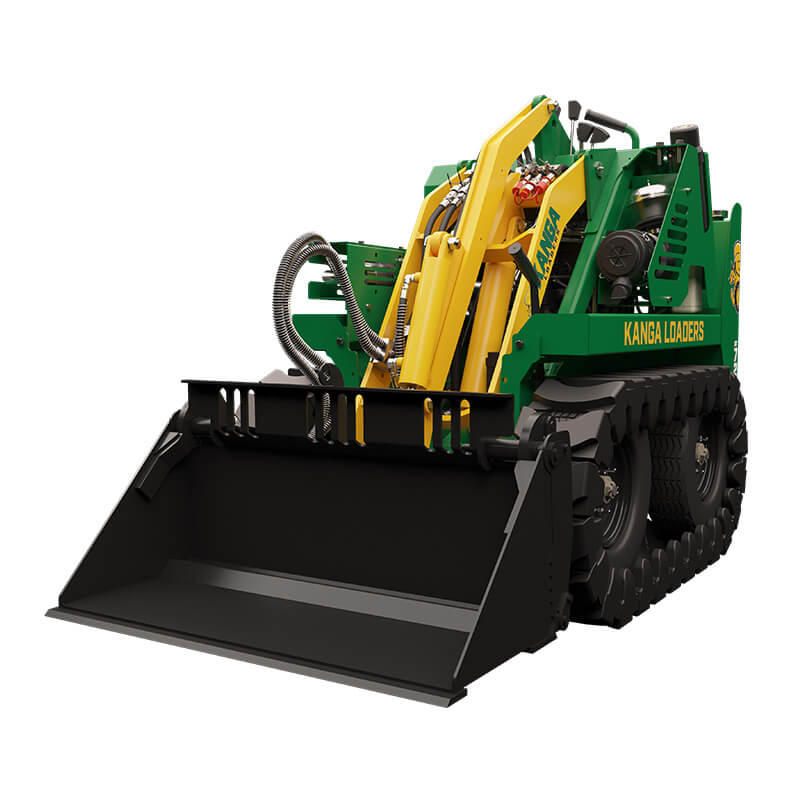
You’ll need a good shovel and a wheelbarrow to move the soil. Use a peg and cord as a makeshift compass to mark out the area required. Dig out the circle to a depth of about 100mm.
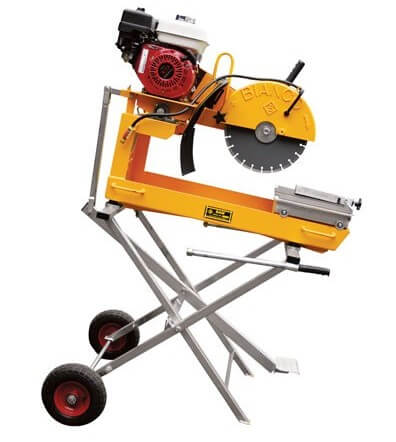
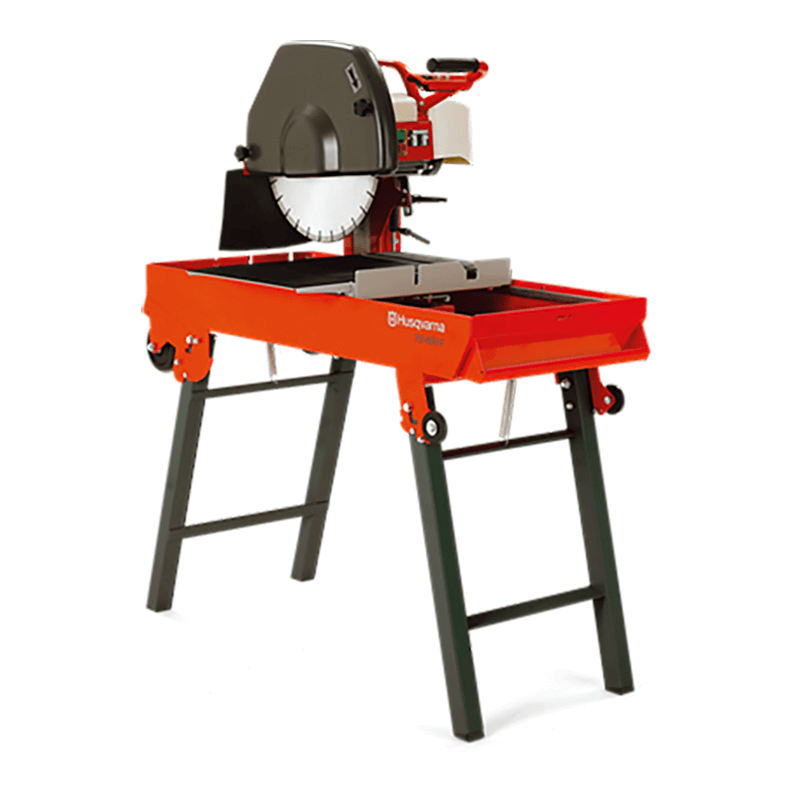
Fill the hole with compacted builders’ sand to a depth of about 30mm. Now start laying your bricks. A herringbone pattern works well for this. Use a brick saw to cut bricks to size. Brush sand into the gaps and use a fine spray to settle it.
With the base in place, you’re ready for the fire pit container. Hardware, barbecue and camping stores sell some good-looking and practical fire pits – everything from rusted steel to cast iron and porcelain.
Or use your imagination and create your own with an old washing machine drum or corrugated iron water tank. Don’t worry about the holes – a bit of airflow will improve the fire!
Going for a sunken effect
Another option is a sunken fire pit. You’ll need 30-40 fire bricks or clay pavers, depending on the size of your pit and the bricks.
With a sunken pit, you do need to be aware of airflow or you and your guests will be engulfed in smoke. The rim of the pit should be slightly higher than the surrounding ground to encourage the smoke to rise.
A metre wide and about 30 centimetres deep is a good size for the finished pit. Allow another 10cm all round for your bricks, so you’re looking at 1.2 metres wide by 40cm deep.
Mark out your circle and dig it about 40cm deep. The top should be wider than the bottom so you can position the bricks without using mortar.
Lay bricks flat to cover the base of the pit. Cover the sides of the pit with bricks, laying them diagonally so they are self-supporting.
Finally, lay a circle of bricks flat at the surface. Factor in a slight rise, as mentioned above. Fill gaps between bricks with sand or soil.
The final step is a steel grate or fold-up camping grill over the top to turn your fire pit into a barbecue.
Now wait for the stars to come out, settle back and enjoy the night!
For expert advice and the right equipment for any DIY project, talk to the staff at your local branch of Kennards Hire.