How to Use the Hilti PS1000 Ground Penetrating Radar
How-To
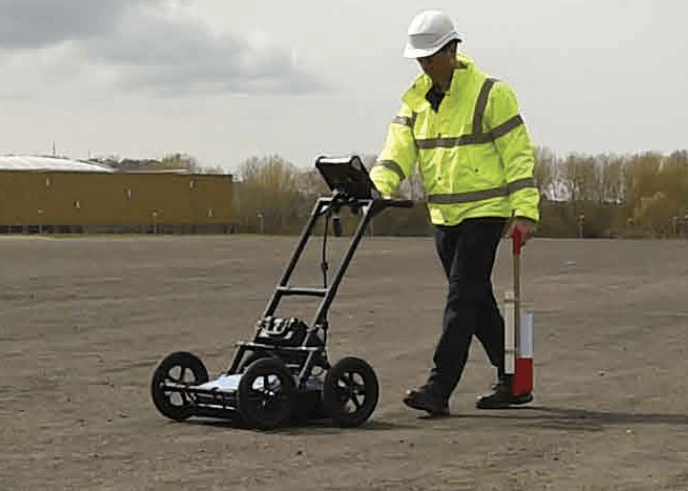
The best method of detecting cracks or faults in a concrete slab or structures like rebar under the surface is to use a ground-penetrating radar.
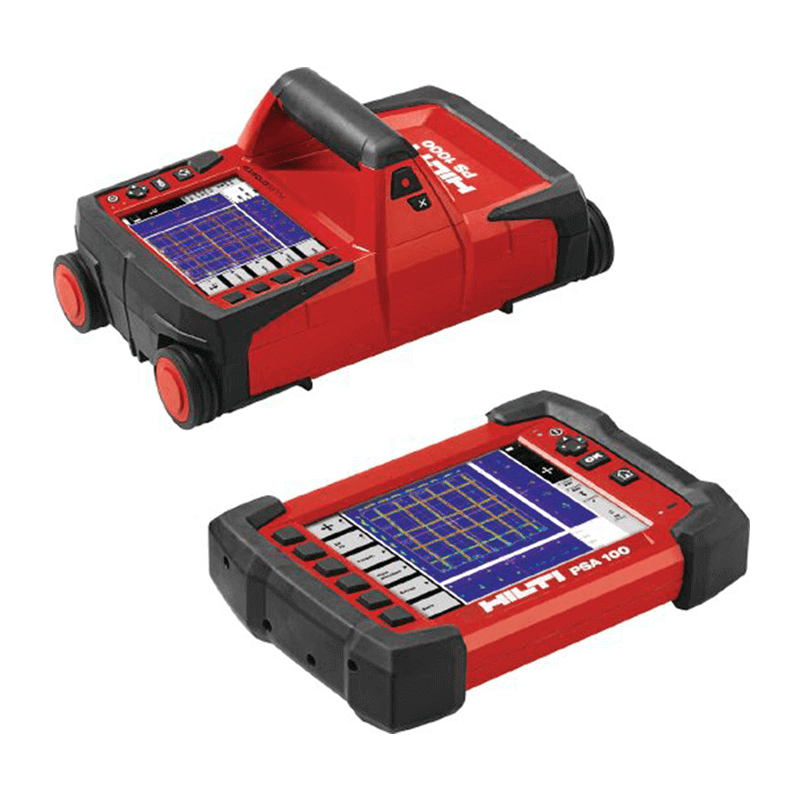
The Hilti PS1000 is most suitable for detailed concrete scans. You can use it for mapping out particular sections of a slab, or the entire thing.
Here's a step-by-step guide to using the Hilti PS1000.
If you have any questions about our equipment or need advice on the best equipment to use, the team at your local Kennards Hire branch should be able to help you.
Want more information on the Hilti PS1000 ground penetrating radar? Visit your local branch, and check out our full range of test and measure equipment.
Steps
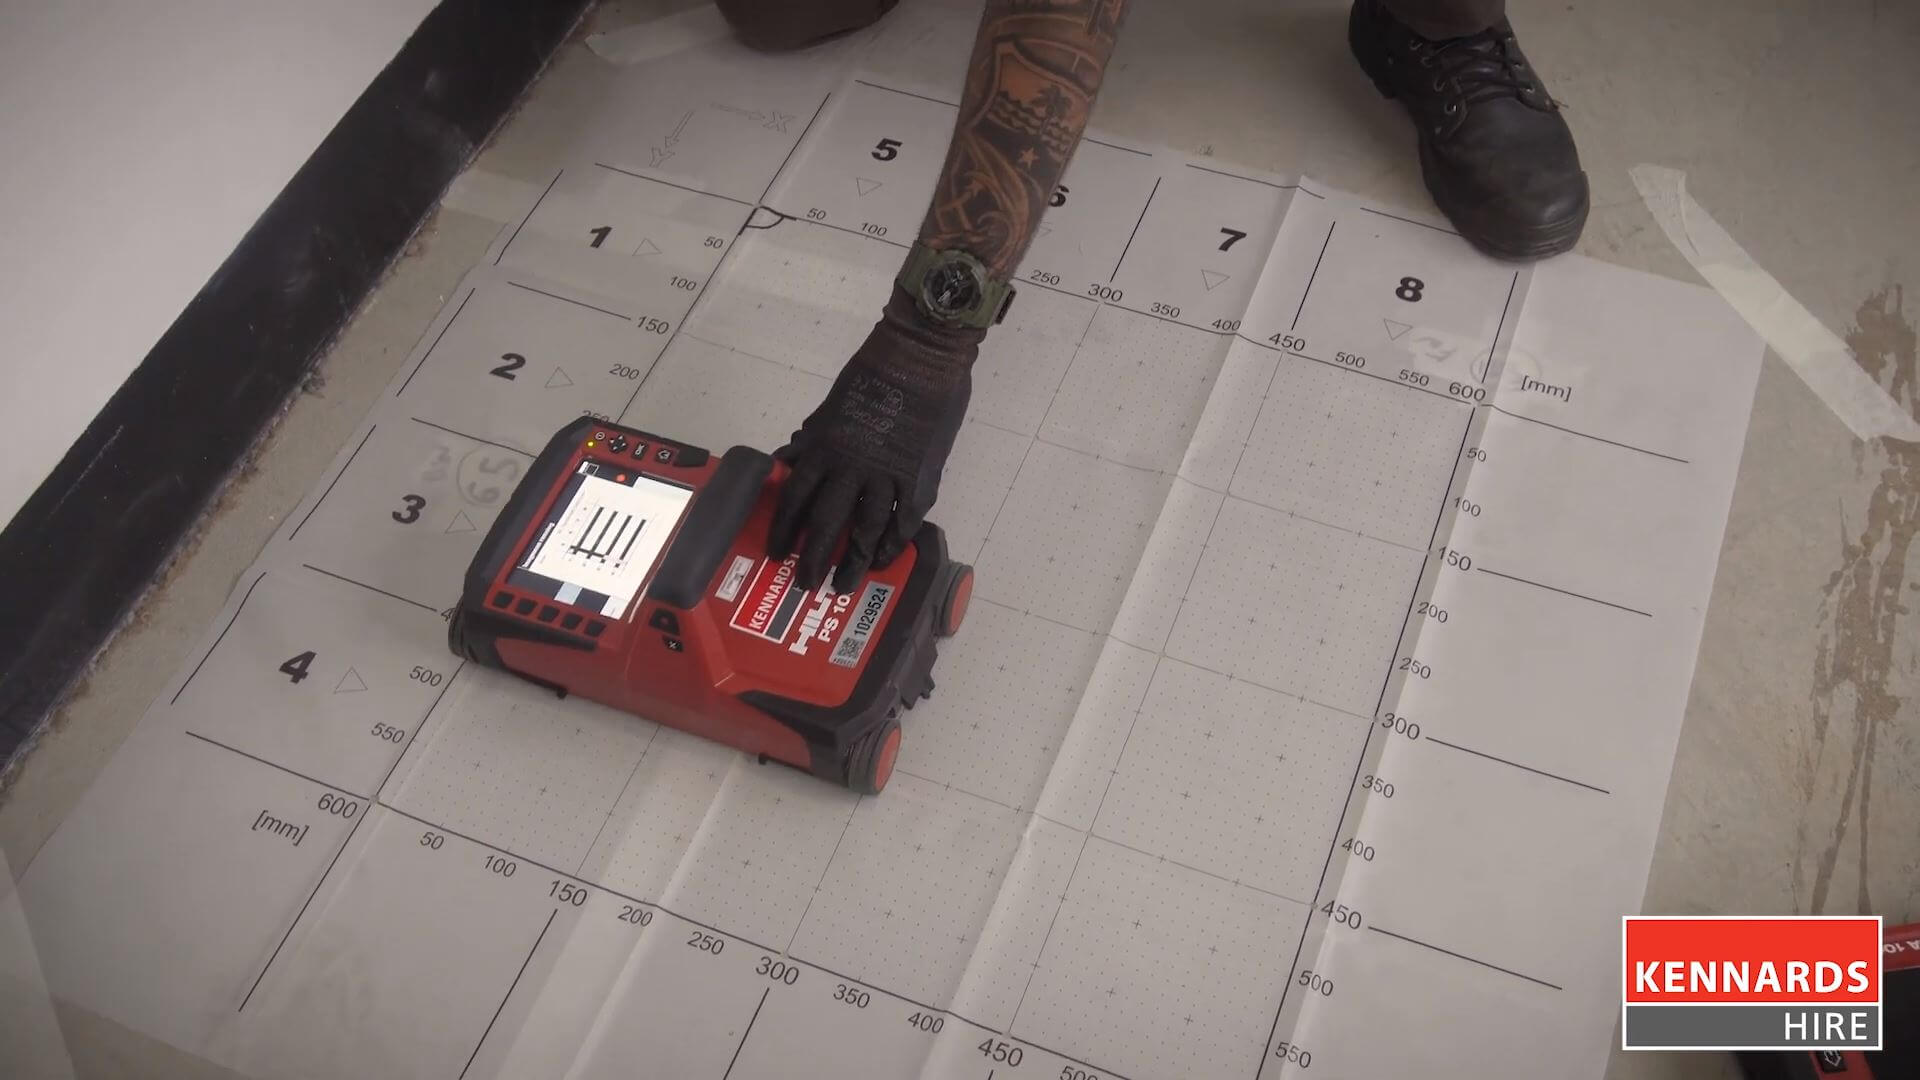
Step 1 - Set up the device and grid paper
Place the grid paper on the area of concrete you wish to scan, then switch on the Hilti PS1000. Click ‘Select’ on the Hilti, then ‘Image Scan’. You will now see image instructions that match the grid paper underneath, and it will show you exactly where to start and which way to start rolling.
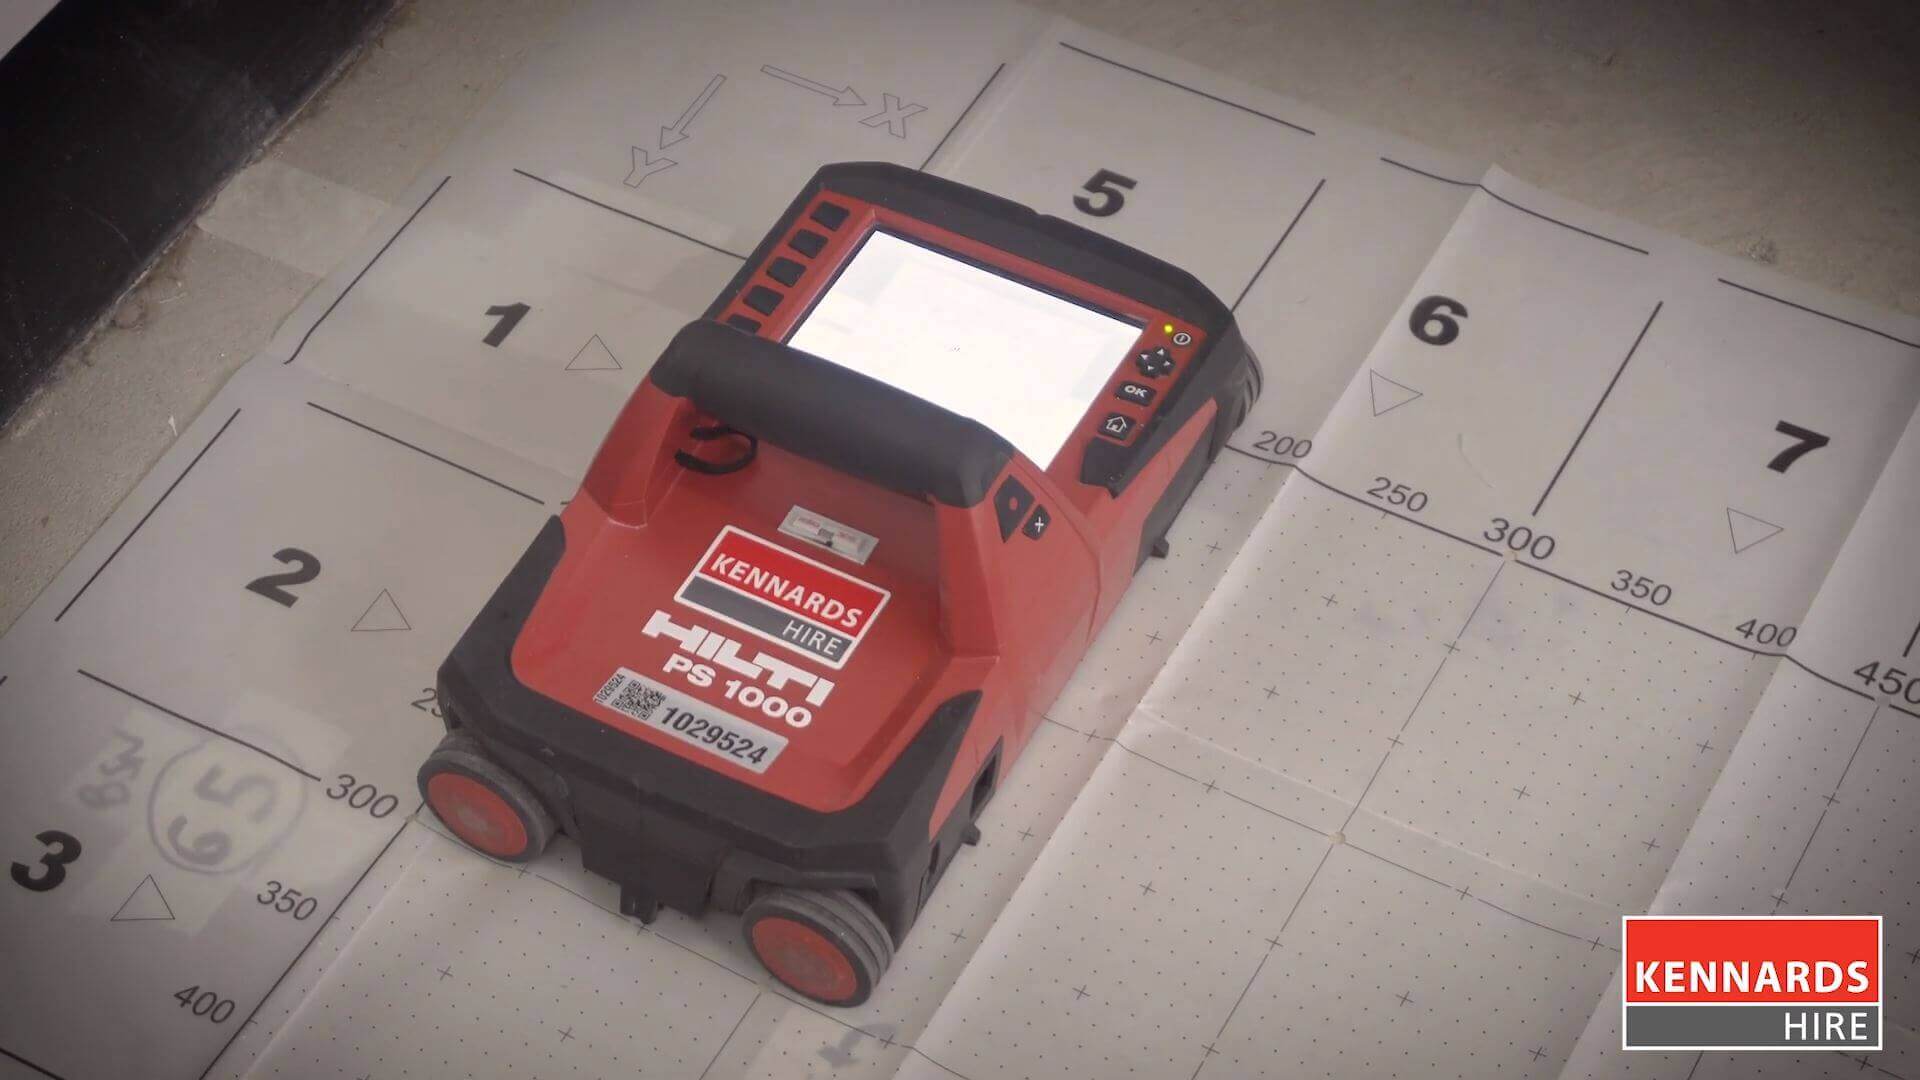
Step 2 - Place device on the grid paper and record
Place the device at the top-left corner of the grid paper, so the Hilti is sitting on top of both Cell 1 and Cell 2. This numbers should always align with what is shown on the radar’s screen.
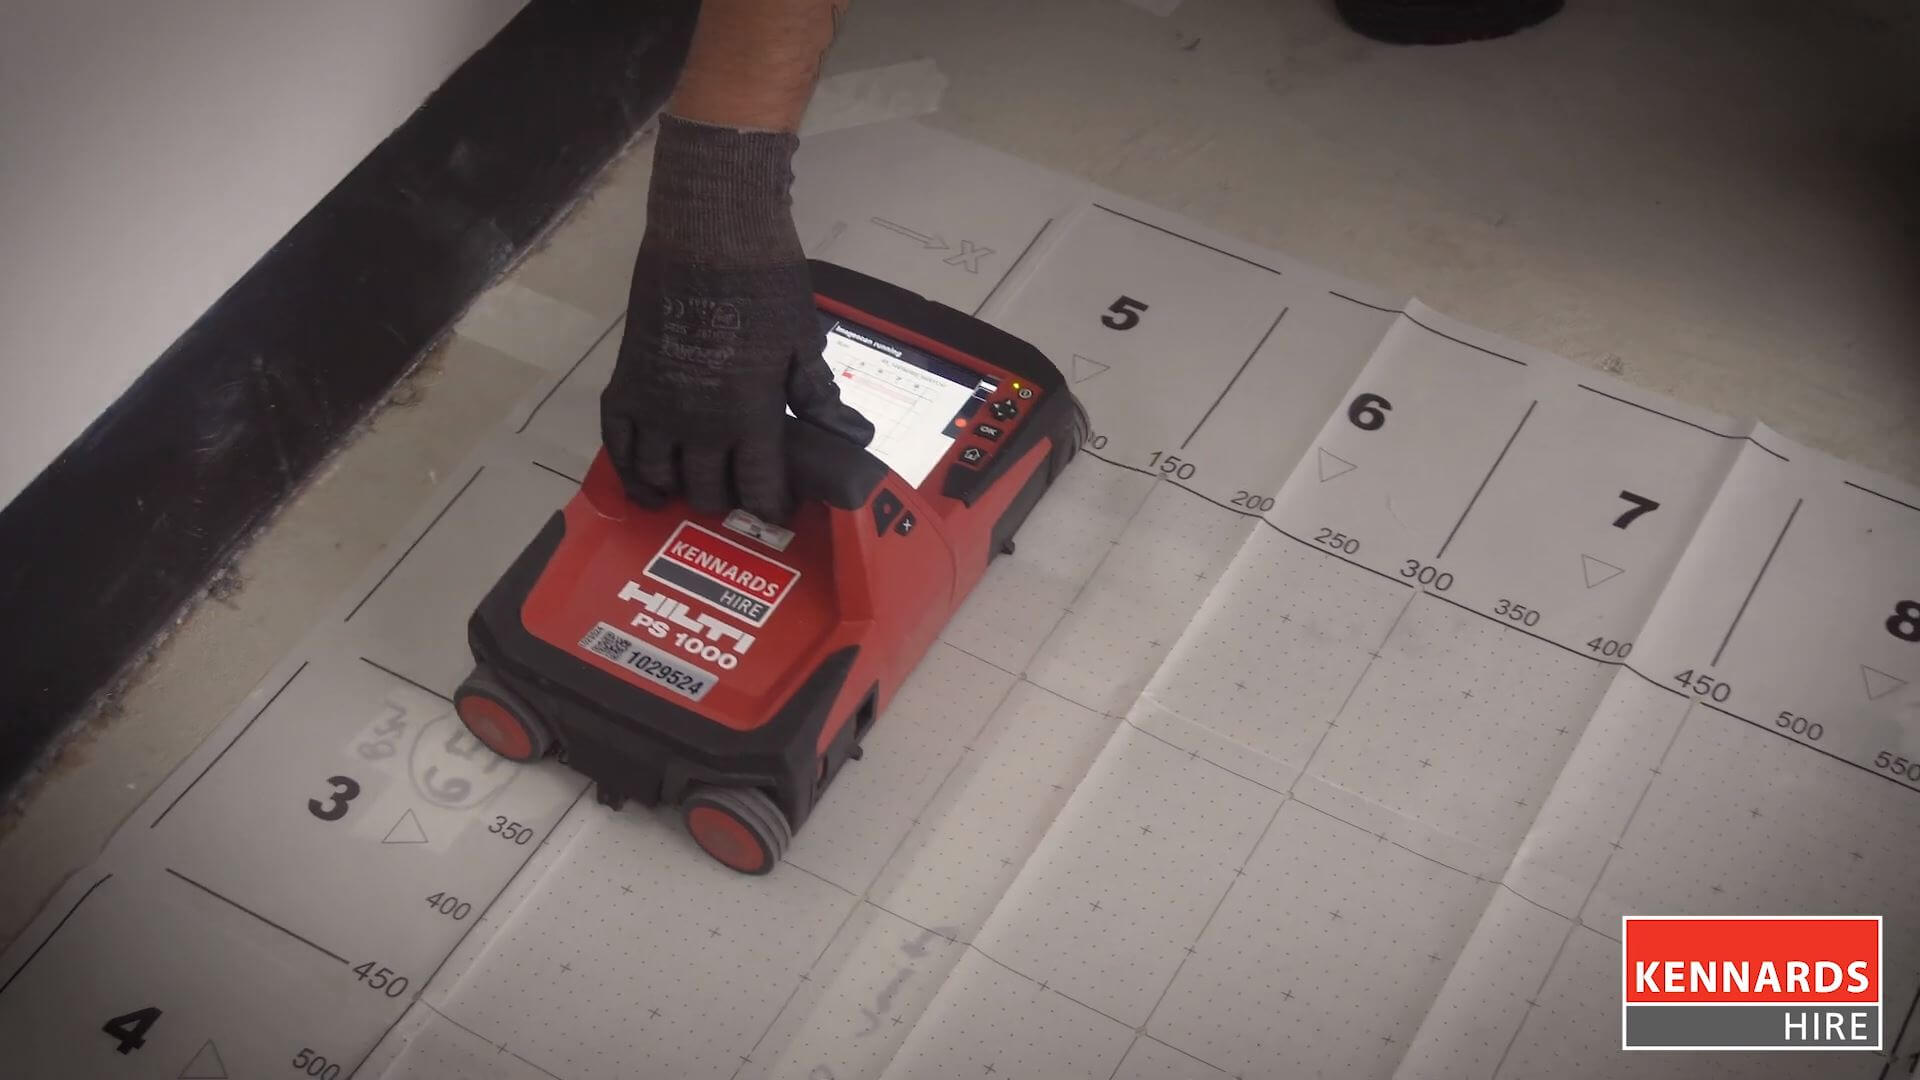
Step 3 - Start rolling
Before you start rolling, hit the ‘Record’ button, which is located at the base of the handle – where your thumb naturally sits when gripping the Hilti PS1000’s handle.
After the device is recording, slide it gently along the grid paper – staying within the cell boundaries – until it is at the far edge of the grid paper.
You will hear a beep and see a flashing light from the device when your roll is complete.

Step 4 - Complete all horizontal cross-sections
Repeat Steps 3 and 4 in the equivalent cells until you have rolled across all four sections of grid paper horizontally.
Those four cross-sections will appear as horizontal black bars on the Hilti’s screen.
Step 5 - Complete all vertical cross-sections
Repeat Steps 3, 4 and 5 with vertical rolls. Set the device on the grid paper so it is covering Cell 5 and Cell 6, remember to press ‘Record’, then roll in the direction shown on the Hilti PS1000.
Repeat until all four grid sections are complete and appear as vertical black bars on the screen.

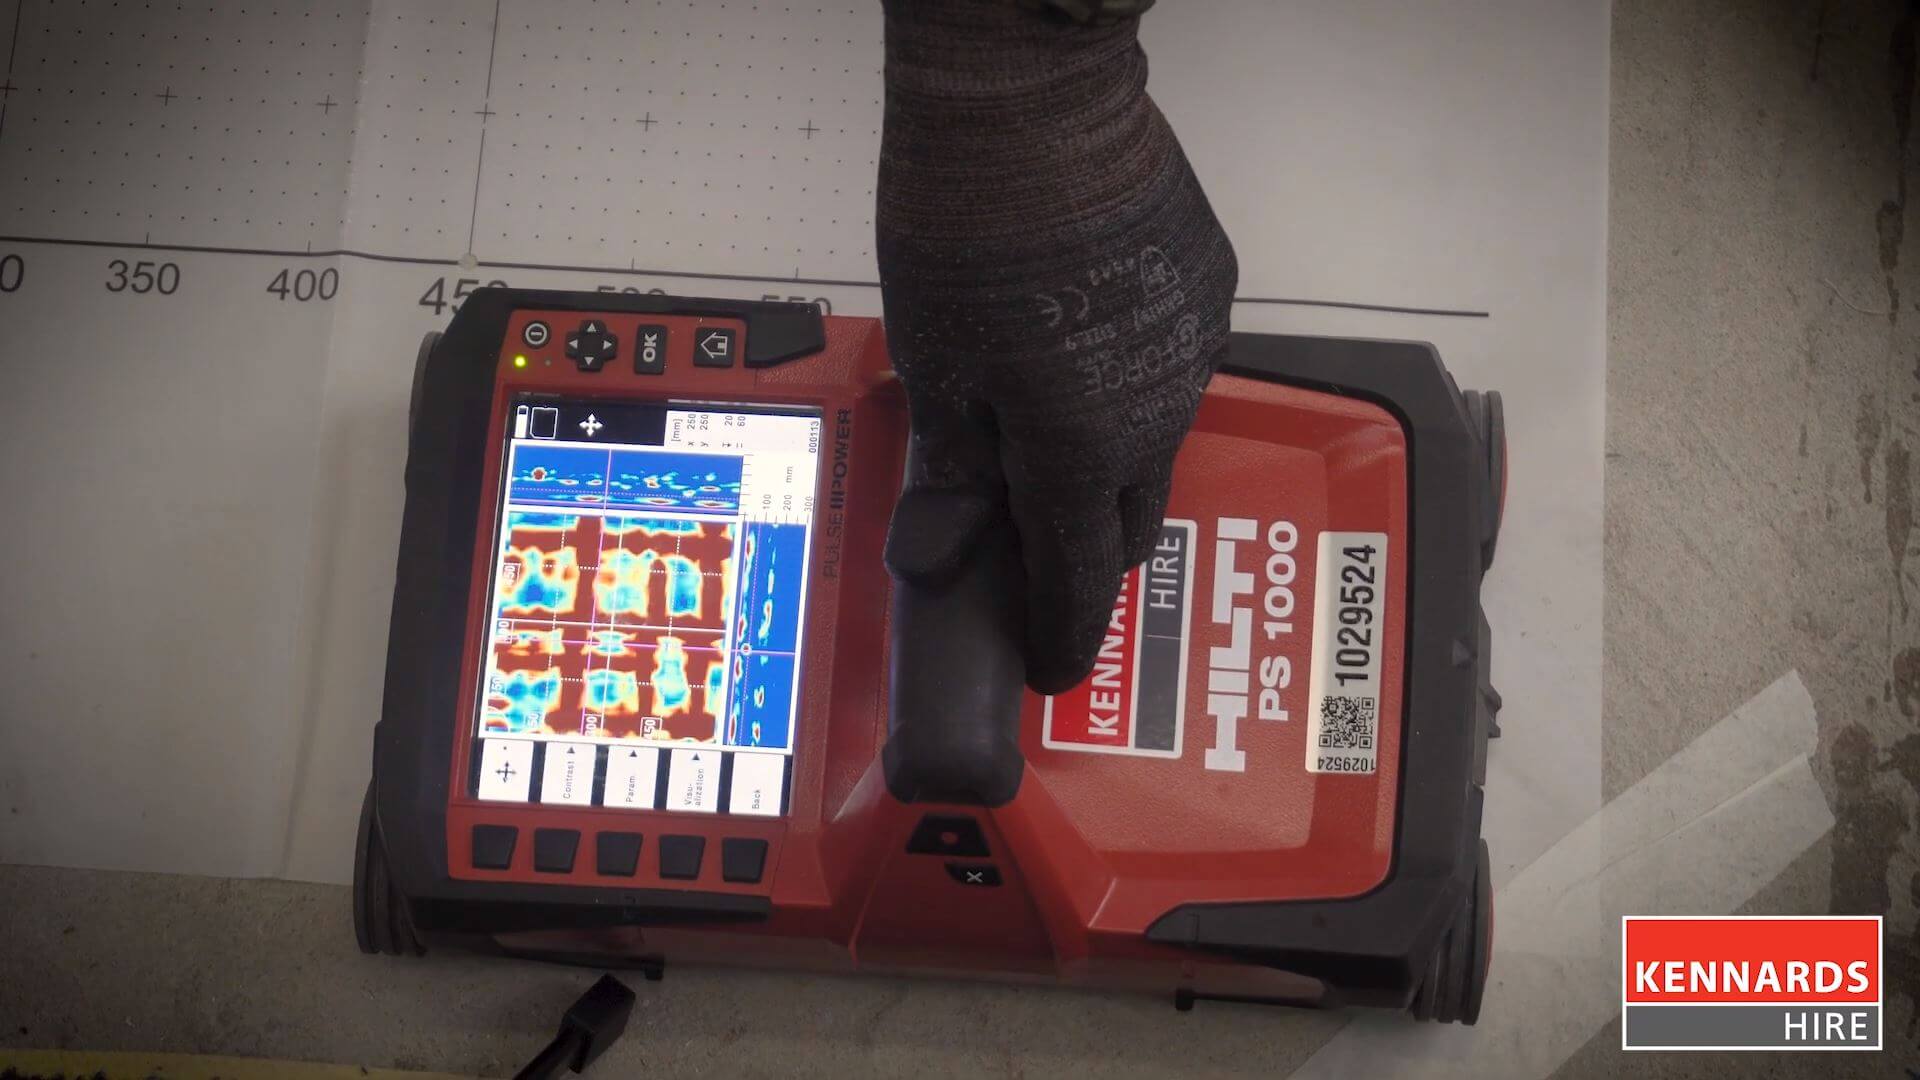
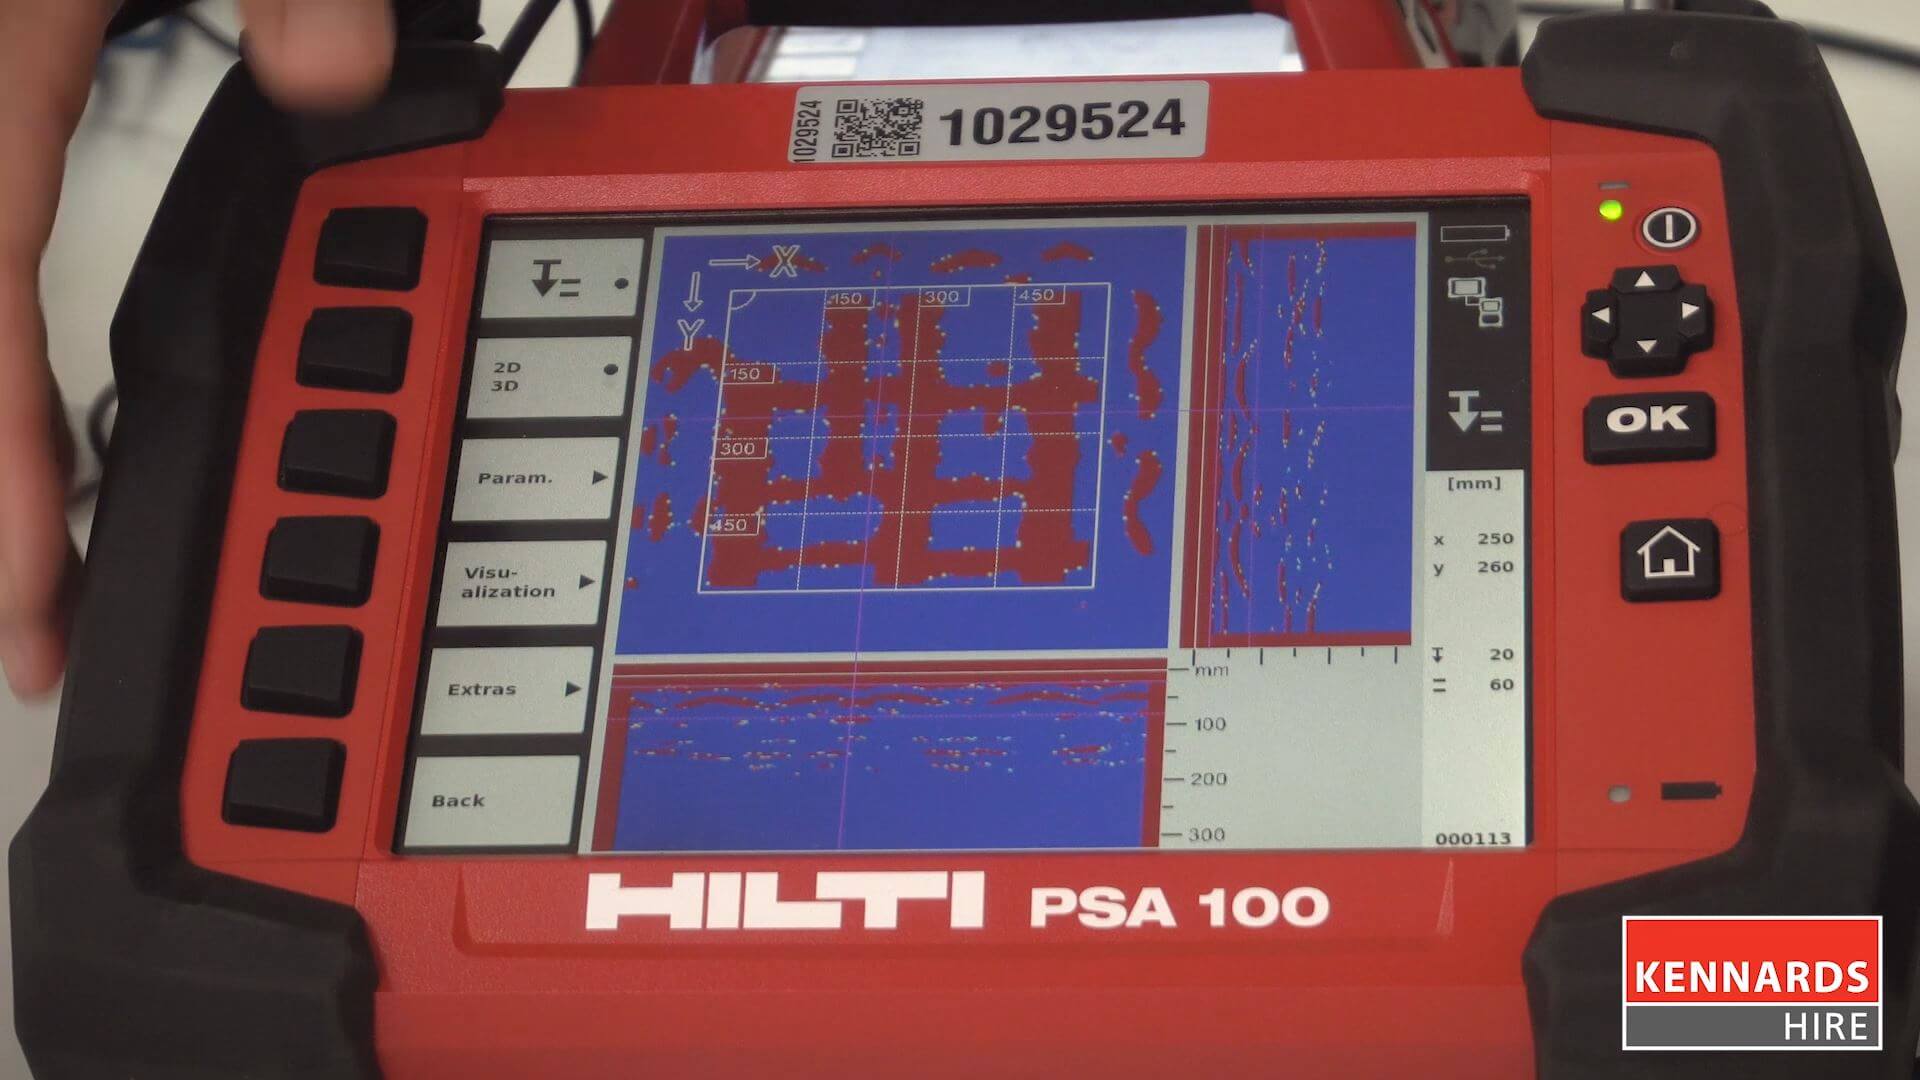
Step 6 - Monitor the visual feedback
Once complete, you will see the visual feedback on the screen. It will no longer be simple black bars, but instead a visual ‘heat map’ filled with data of the grid section that you’ve scanned.
You may choose to play around with some of the Hilti PS1000 settings, such as contrast and colouring.
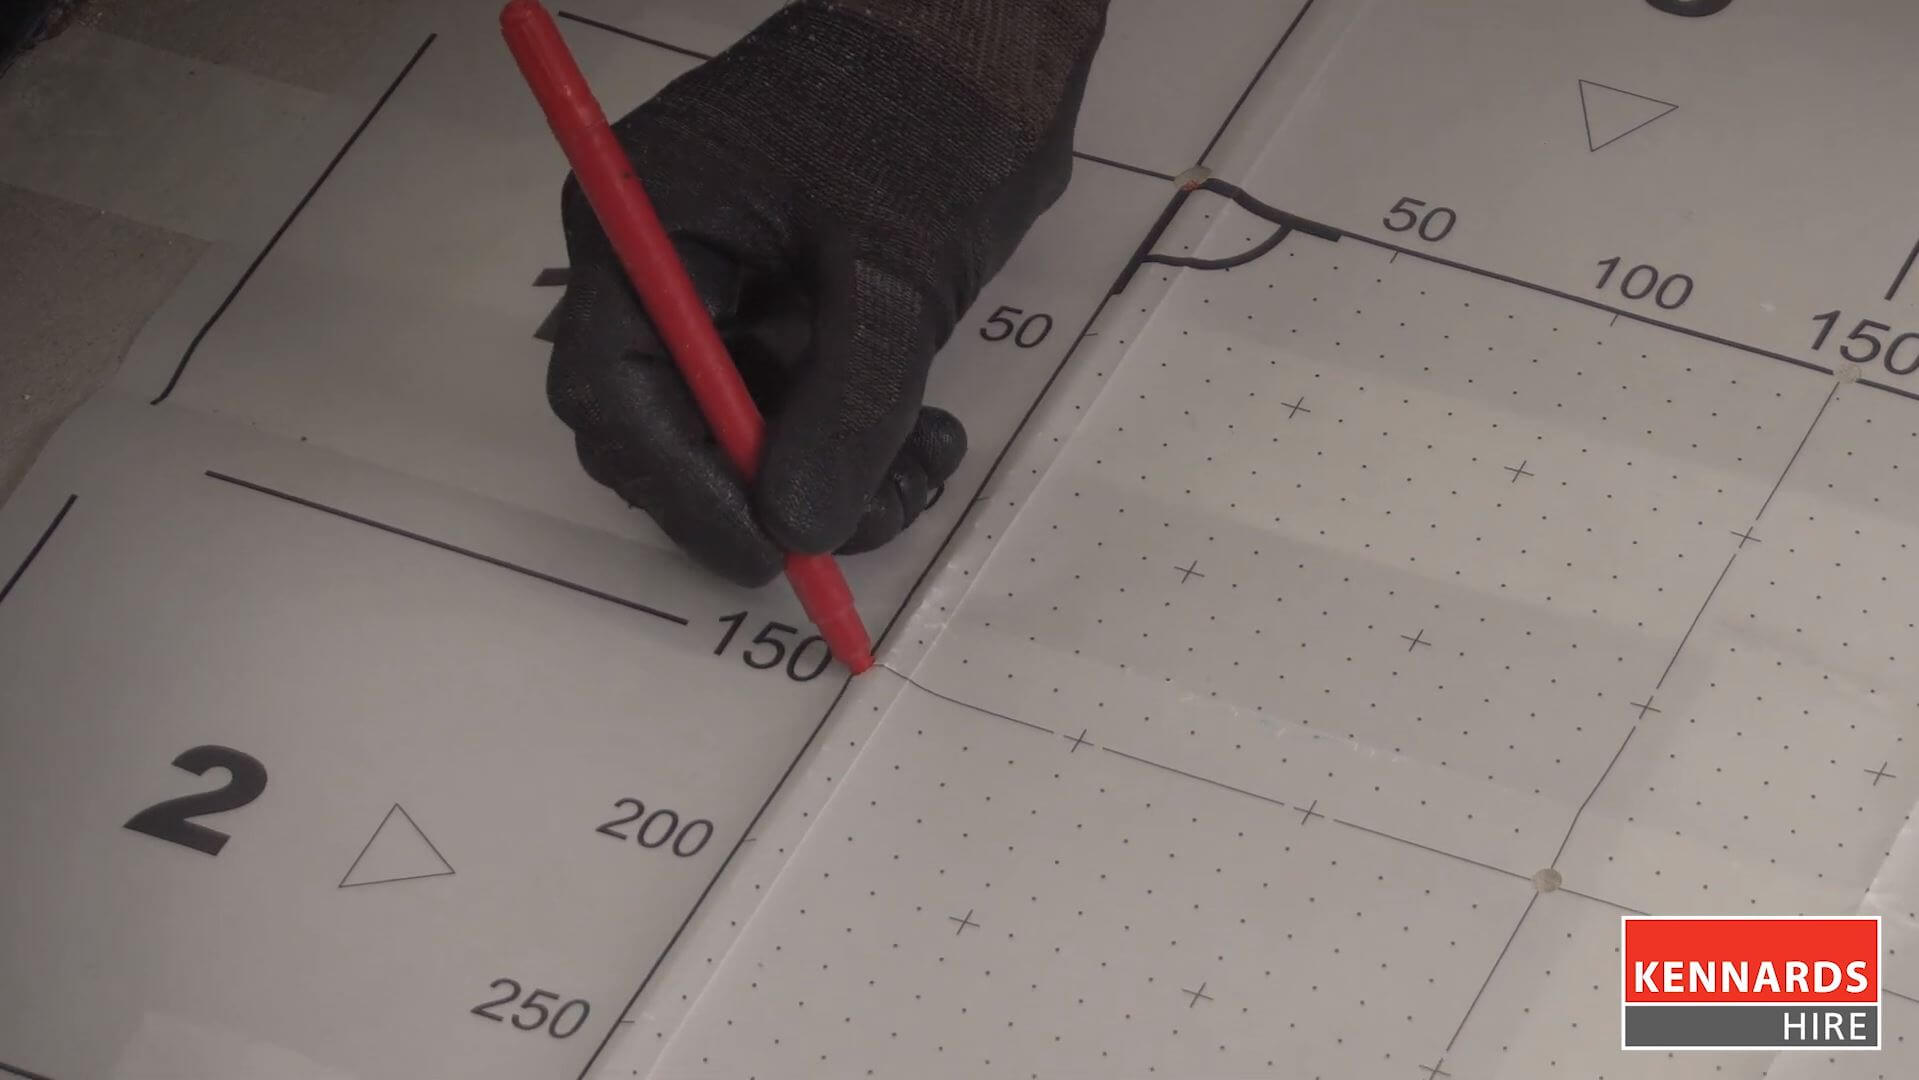
Step 7 - Mark holes before removing grid paper
Your grid paper will have a several holes already punched into it, such as along the grid’s borders and at the converging lines between each cell.
Before you rip the grid paper off the concrete, remember to mark down exactly where the holes are. You can use these marks later as reference points, especially if you plan to scan the entire slab.
Step 8 - Use the tablet or desktop computer to analyse scanned data
You can now remove the grid paper and use the data collected either through your PC or the tablet provided with the scanner.
Step 9 - Continue the process for additional sections of the slab
If you have more sections to scan, repeat this entire process, making sure to use the dots you marked with your grid paper as reference for the borders of any previous scans.