A Beginner's Guide to Concrete Polishing
Get Inspired
Ever wondered how people get their concrete floors so smooth and shiny? Or why some concrete surfaces look rough, while other times they appear as timelessly stylish as natural stone?
The difference is concrete polishing, and although it can be a tough job to get right, the results are worth it.
Let's take a look at whether polishing is right for your floor, the equipment you need, how to carry out the process the right way, and the important difference between concrete “grinding” and concrete “polishing”.
Different types of polishing pads
When you use sandpaper on wood, you start with a coarse grade and end with a fine one. Similarly, concrete polishing starts with a relatively coarse, Metal-bonded diamond and finishes with an extremely smooth one.
A bonded diamond is a disc or shoe containing diamond particles embedded in plastic or metal. The coarseness of the diamond is known as its ‘grit’, and the higher the number, the smoother the surface finish .For example, you might start with 30 grit and finish with 3,000.
Concrete grinding vs polishing
Let’s look at the difference between concrete grinding and polishing. This is important, because although you might think you want concrete polishing, you might be better off with what’s known as a “grind and seal” finish.
The “grind and seal” process uses a relatively coarse metal-bonded diamond pad for grinding, then seals the concrete with a chemical to make it impervious to liquids. It takes less time than a full polish because there are fewer steps. It still gives a smooth finish, but without the high-end, architectural reflectiveness of fully-polished concrete.
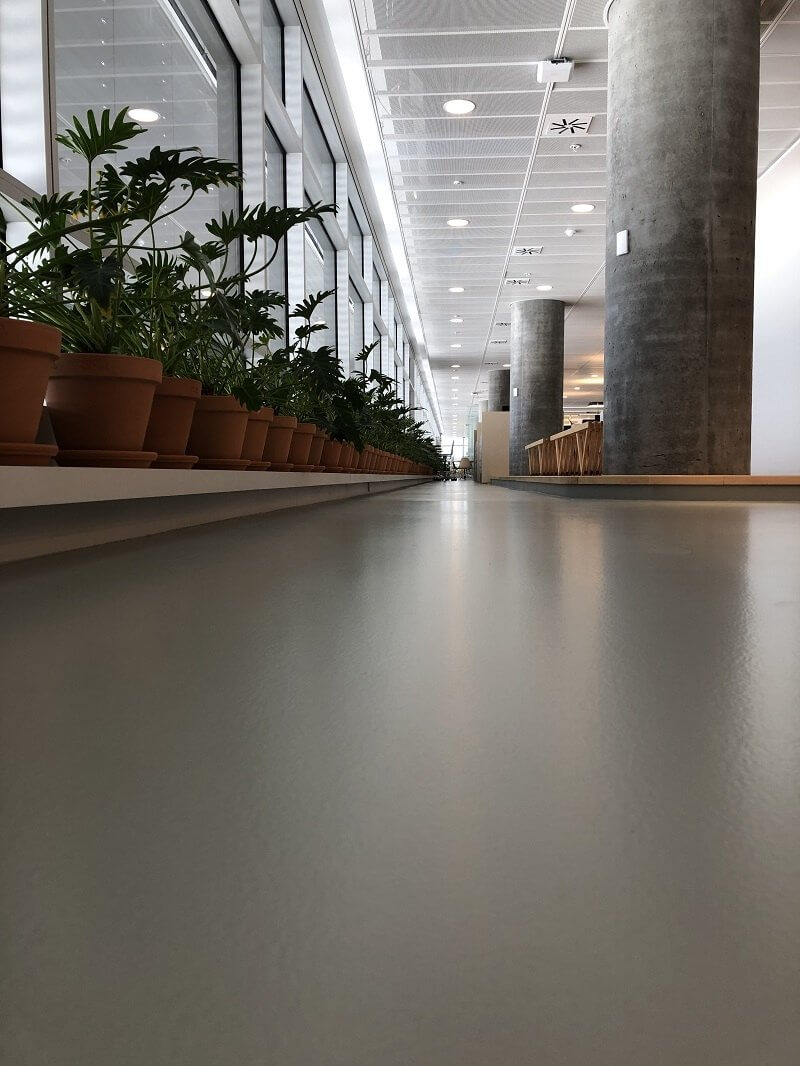
True concrete polishing is a longer process designed to create a highly reflective surface. This means using pads with a finer grit range combined with applying a densifier and finally a sealant. The densifier closes the pores in the concrete, which gives it a mirror finish.
Whether you need this high-end finish is a question of practicality: do you need to have a mirror finish in a rumpus room or a garage? Look at examples of grind and seal and fully-polished concrete finishes to decide which one you want.
Preparation for polishing
Ideally polishing is done dry .Dry polishing is most common, due to it being quicker and having less impact on the environment. It’s also a lot less messy.
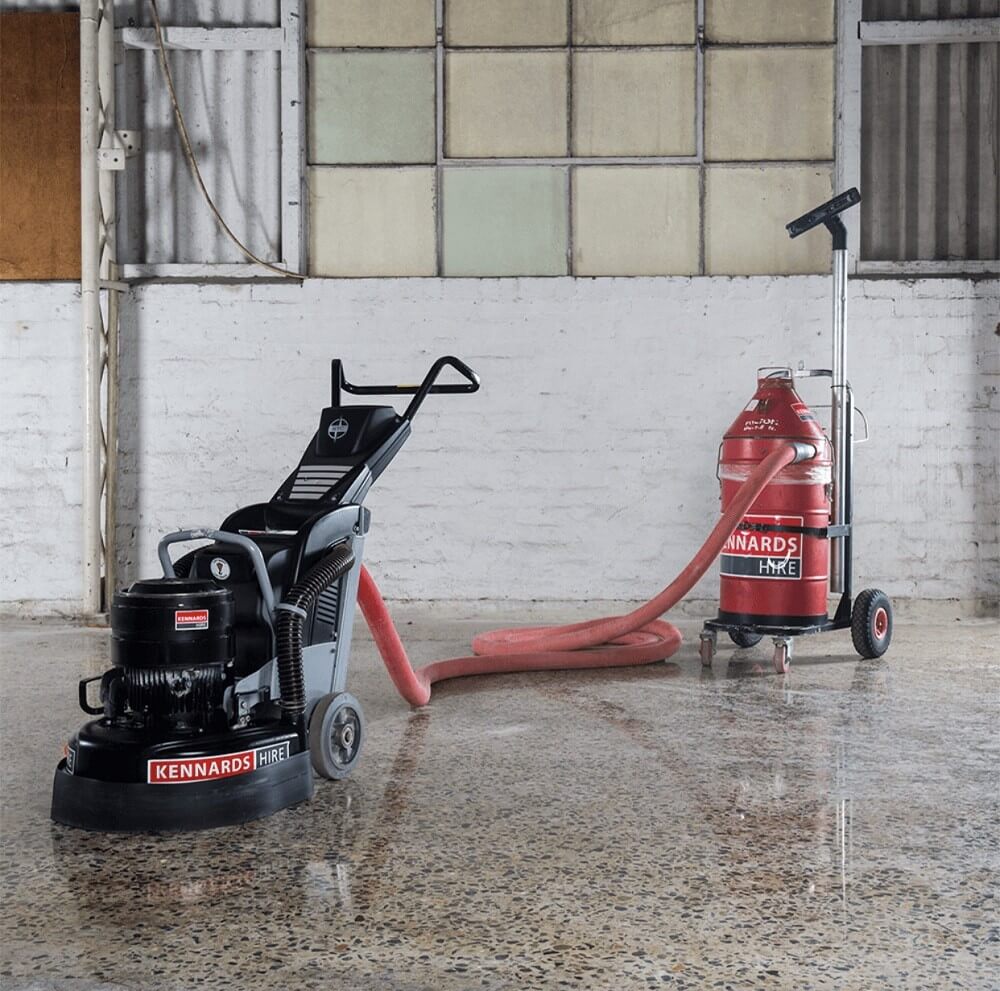
You should wear a mask, safety goggles, ear plugs and protective clothing to combat dust. Check if the machine can be fitted with a dust collection system to minimise build up in the work space.
Which polishing machine you hire depends on your project, and your Kennards Hire branch will be able to recommend the best one.
First steps and the ‘grind and seal’ finish
The machine is first used to remove any surface finishes, such as paint. This is done using a 16-30 grit resin-bonded diamond.
When you operate the machine, make sure that you walk in smooth, overlapping lines. Once you have finished a run in one direction, angle the machine 90 degrees and start again to make sure the surface is fully covered.
You may find chips or holes in the concrete. These should be cleaned out and filled with a patching compound. When this is dry, smooth off excess filler material with the same 16-30 grit pad.
You then progress to a 80-grit diamond. At this point, you could vacuum the dust away and apply a sealant. This is where the grind and seal process ends.
Full polishing process
If you decided on a highly-reflective, polished finish, you now continue the process using several increasingly smoother diamonds. Your Kennards Hire team will be able to tell you which ones you need for the best result.
To finish, you use a 1,500-3,000 grit pad depending on how reflective you want the surface to be. You can also use non-diamond burnishing pads to add a final sheen.
Final polishing steps
Once you’ve finished polishing, vacuum the dust away and wipe down the surface with a dry cloth. Next, apply a coat of sealer, which is an essential part of achieving a mirror finish.
Give this at least 45 minutes to dry, then add a sealant to make the surface impervious. You should now have a concrete floor that is durable and reflects light beautifully.
Follow the process, seek advice
Concrete polishing is a process, one that needs to be followed carefully. But the good news is you don’t have to do it alone. Kennards Hire are the experts and have the right grinding and polishing equipment for your project. So, make sure you take full advantage of your local team’s experience, because with the right guidance, any DIY task is achievable!