
The Kennards Hire guide to fixing a hole in a plasterboard wall
Archive
No matter how careful you are around the house, it's inevitable that your walls will get damaged over the years. Whether they take a hefty hit when moving furniture, crack gradually under the weight they bear, or feature an unsightly hole drilled by the previous occupant as a centrepiece, your walls will need filling in from time to time.
Thankfully, carrying out the work isn't too difficult once you know how. All you will need are the correct tools, a spare couple of hours and a little bit of know how - which you can get by reading the Kennards Hire guide to fixing a hole in a plasterboard wall!
No matter how careful you are around the house, it's inevitable that your walls will get damaged over the years.
What tools and equipment do you need?
Luckily, very few. Of course, you'll need a section of good quality plasterboard (the size of which is determined by the size of the crack or hole you're going to fix). Secondly, a single flathead will be needed for leverage. A nail gun from Kennards Hire could make the process even quicker and easier.
Putty mixture and plaster compound will be needed to fill out the cavities, and keep a pencil and Stanley knife handy to help with preparation work.
Preparation is the key
First of all, you are going to have to prepare the offending hole or crack for the work ahead. You'll need to cut the damaged piece of plasterboard out of the wall with a knife, then mark out a square around the cut with a pencil and ruler. It's really important that you take out all of the damaged plasterboard, and you should be left with a neat square or rectangle, depending on the shape of the hole you're repairing - and your cutting skills!
Fixing the hole
Now that the wounded wall has been prepared, it's time to begin repairing it in earnest. Begin by carefully cutting a section from your new plasterboard, which should be a little bit narrower, yet slightly longer than the hole - around five centimetres should suffice. Now push a nail through the middle of the new piece, and apply liberal amounts of plaster compound to either end of it.
Next, you'll need to put the new piece of plasterboard into the hole, pulling it into position against the back of the wall lining. It should take around a minute for the mixture to stick fast to the inner wall, but you should still leave it for an hour or two to fully gain a grip. Once it has done so, you can push the nail all the way through, allowing it to fall behind the wall lining. It might remain there for decades, but it won't harm anyone!
Take the pot of putty and fill the rest of the hole, ensuring that you use more than you need! Once you've done this, it's time to kick back and relax for a day or two to allow the compound to fully dry. You're almost done!
Finishing the job
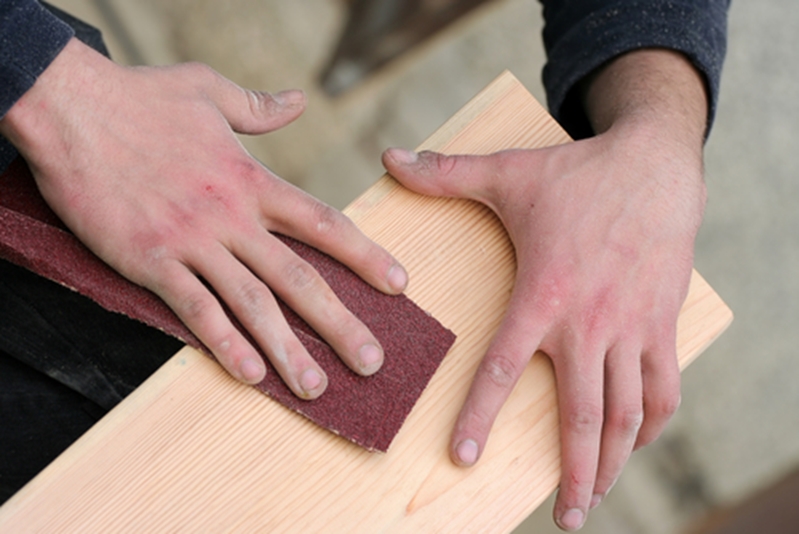
Once everything has dried, scrape any excess compound off and smooth it level with sandpaper - but be sure to wear a dust/sanding mask to prevent inhaling any potentially dangerous particles. All you need to do now is wipe away the dust with a dry cloth, and then you can commence painting! If you have a large, ventilated surface area that needs a repaint, a spray gun may make your job a little easier.
Be sure to get in touch with the expert team at Kennards Hire for all your DIY needs.