Your DIY Guide to Paving
Get Inspired
Paving a courtyard, entertaining area, driveway or path can transform a property, and the job is well within the reach of DIYers.
Not only will you save a packet, but you’ll also derive a sense of satisfaction from doing the job yourself!
Here are some tips to ensure it all goes smoothly.
Measuring and ordering
Mark out the area you want to pave using pegs and stringlines. The type of pavers you’re using will define the depth of your excavation. You need to allow for a base layer of compacted metal (100mms), bedding sand (25mms) and pavers (20-30mms). And you will need a slight slope of 20mm per metre for drainage away from the house or other buildings.
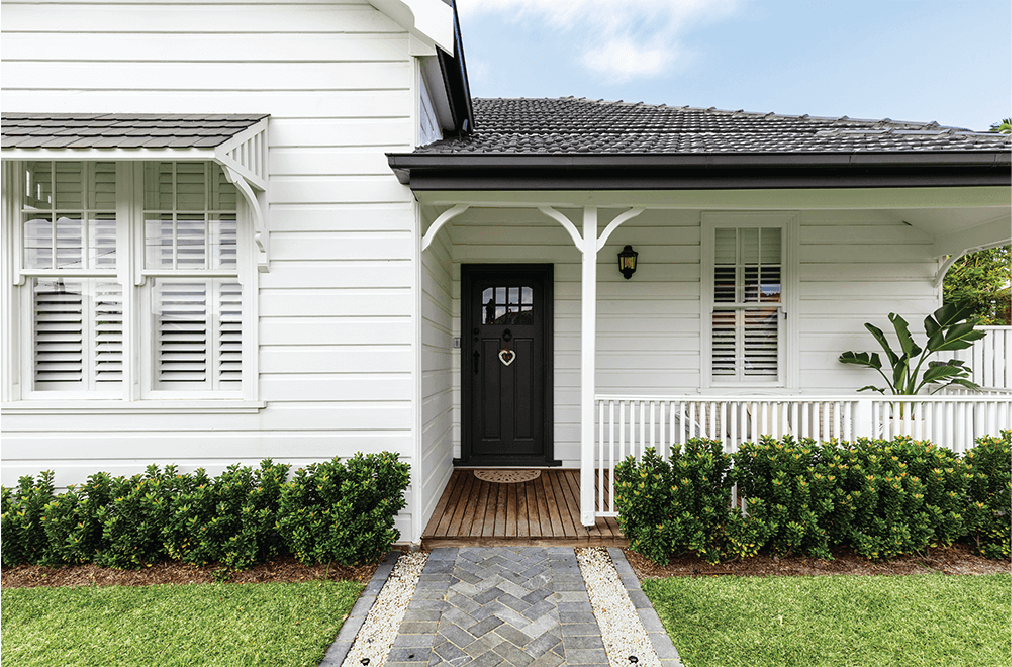
Pavers come in a vast array of sizes and materials – granite, bluestone, sandstone, basalt, concrete. Don’t disregard crazy (mismatched) paving. It’s slow work but if you’ve got the time, you can create some amazing effects!
Preparing the site
Remove any vegetation, dig to the required depth and remove the soil. A rotary hoe or mini loader with a rotary attachment will speed up the job. You need to install some kind of edging to retain the sand and pavers. You can use timber for straight edges, while plastic edging is handy for curves.
Spread a 100mm layer of crushed rock over the area and compact it with a hand compactor or portable plate compactor. When it’s even and stable, add a 10mm layer of bedding sand, use a screed board to spread it evenly and check your levels to ensure the sand bed slopes away from the house.
Laying the pavers
Now for the fun part. Start from a corner and place a strip of pavers. Leave a 2-3mm gap between them for the joint and use a rubber mallet to ensure pavers are firmly embedded in the sand. As you’re working, always step on your pavers so you don’t disturb your sand base.
Work across the whole area before going back and filling in any gaps with smaller pavers, using an electric brick saw to cut pavers to size. Be sure to wear safety glasses, hearing protection, a dust mask and some protective gloves when cutting.
Cast a critical eye over the paved area. You may need to lift some pavers to fill the area underneath with more sand. If you have a heavy roller, use it to ensure a level surface, otherwise use the rubber mallet and your own body weight, or the compactor with a piece of scrap carpet tied to the base to avoid cracking the pavers.
Once you’re satisfied the area is level, use a wet mortar mix to fill between the joints or simply brush dry jointing sand (a 3:1 ratio of sand and cement) across the area and into the joins. Sprinkle with a very fine mist to start the curing process.
Paving a driveway
When it comes to paving a driveway, the main difference is the weight the pavers must bear. You will need to use pavers at least 50mm thick and probably 60mm for the crossover. Concrete pavers come in a vast array of sizes and colours so you have ample choice. A herringbone pattern is popular for areas that take the weight of vehicles. Compaction with a plate compactor is essential for the base layer and again once the pavers have been laid.
Edge restraints must be strong enough to ensure the pavers can bear the weight of vehicles. Hidden concrete strips are a good option. A concrete mixer saves a lot of time and effort on a long driveway. Sink the strip slightly below the surface of the paving to allow for compaction and taper away from the driveway.
Maintaining your paved areas
A paved courtyard or path lined by trees and garden beds is a wonderful use of outdoor space but over time, tree roots can cause pavers to crack and lift. Lift the pavers out with a crowbar or shovel and use a pruning saw to cut back the problematic root. Re-screed the sand bed and place the pavers back in place, using a spirit level to ensure a flat surface with no tripping points. Sprinkle the area with dry sand and use a broom to fill the joint gaps. Use a pressure washer to clean up paths that are covered in moss or dirt.
Need some help with paving?
For expert advice and the right equipment, talk to the team at your local branch.