Tips for Painting the Exterior of Your Home
Get Inspired
A coat of paint can give a home a new lease on life. But whether you choose Heritage cream and Brunswick green, the taupe and brown of contemporary homes, or a dazzling white limewash, there are things to keep in mind before you dive into the DIY painting pool.
From preparing the surface to using a scaffold, here are some tips for painting your home’s exterior, including the various types of paint available.
Preparing the surface
Using sugar soap, clean the surface and let it dry. You may find areas of flaky paint, which will need removing and sanding. Make sure that corners around window frames and under eaves are sanded too, otherwise you will get paint build-up. Triangular sanders are designed to get into these hard to reach spots.
Scaffolding
Moving ladders and carrying paint up and down can be dangerous, which is why hiring a scaffold is recommended when house painting.
Scaffold always comes with wheels, they have brakes and can be used to level out the scaffold on uneven ground. The various metal poles of the scaffold, known as braces, are labelled and come with an assembly plan that shows which bits fits together. This How To video shows you the step-by-step scaffold installation.
Our scaffolding ranges from 1.5 to 4 metres tall, which should be plenty high enough, and their level platforms provide safety and convenience as you paint. However, if you can fall more than 4m from any area of scaffold you’ll need a licenced scaffolder to install it. Your safety is always worth the investment.
Priming and painting
Using a primer seals surface defects and creates an ideal base for the top coat. It’s also important when painting a light colour over a darker one, as the underling colour could affect the hue of the top coat.
Use masking tape around windows and doorframes and spread drop sheets over flower beds, paths and veranda floorboards to stop damage from spillage.
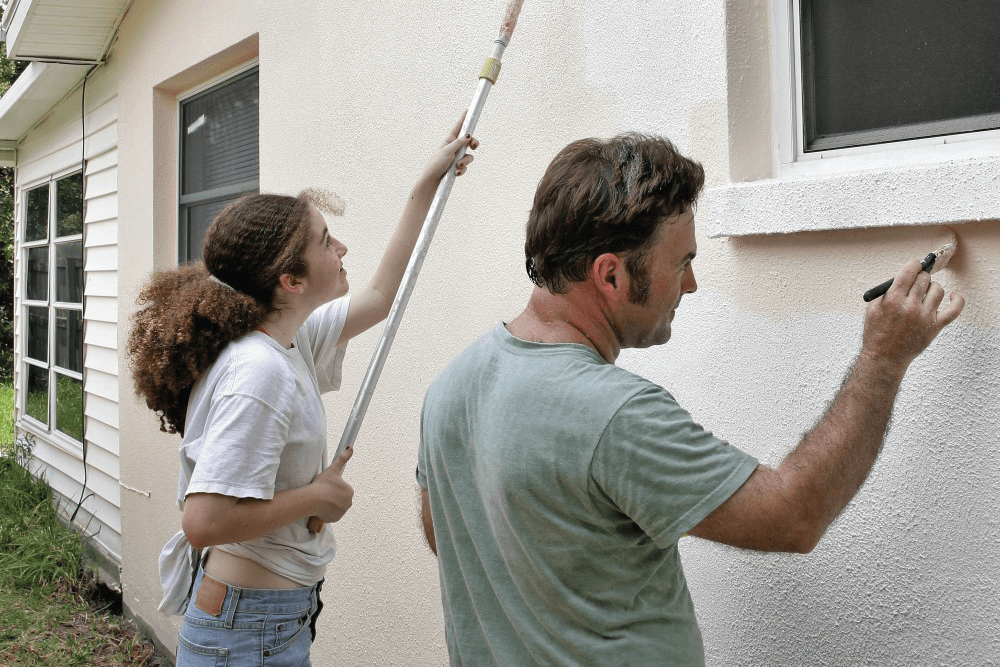
For large areas use a roller, swapping it for a brush when it comes to corners and eaves. Don’t rush each coat – the undercoat must be dry before the next one goes on.
Oil and water-based paint
While oil-based based paints have an immediate glossy sheen, they will not retain this in an exterior environment. Oil-based paints are also less flexible than water-based, which means they become brittle with time and crack.
Water-based acrylic paints are flexible, moving with the surface. Their far superior UV protection makes them the current best choice in terms of longevity, and impact on the environment. Clean-up is with water rather than turps.
Using limewash
Limewash is an ancient interior and exterior finish made from limestone. Think the brilliant white of traditional Greek houses or the warm patina of Sydney terraces – that’s limewash. It can be used on plaster, stone and brick as well as plasterboard, if a primer is used first.
Free of solvents that put many paints on the environmental no-go list, limewash is made from natural ingredients and has a suede-like texture rather than the uniform finish of regular paint.
How to prevent lime burn
Also known as alkali or pH burn, lime burn occurs when new concrete/cement or mortar reacts with air causing overlying paint to flake or discolour. A common sight on painted concrete buildings, it’s called lime burn because concrete and mortar contain lime as an adhesive.
One way to prevent lime burn is to wait at least 30 days before painting to allow the lime to stop reacting and set. In addition, an alkali-resistant primer can lock in the lime so it can’t react with the top coat.
These tips for painting the outside of your home are just the start: talk to your local Kennards Hire paint expert for more painting advice and equipment suggestions.

